Generating API Keys
API keys let you access Docana programmatically and integrate it into your applications. Here's how to create one.
You need to have a Docana account with appropriate permissions to generate API keys. Contact your organization administrator if you don't have access to the Developer section.
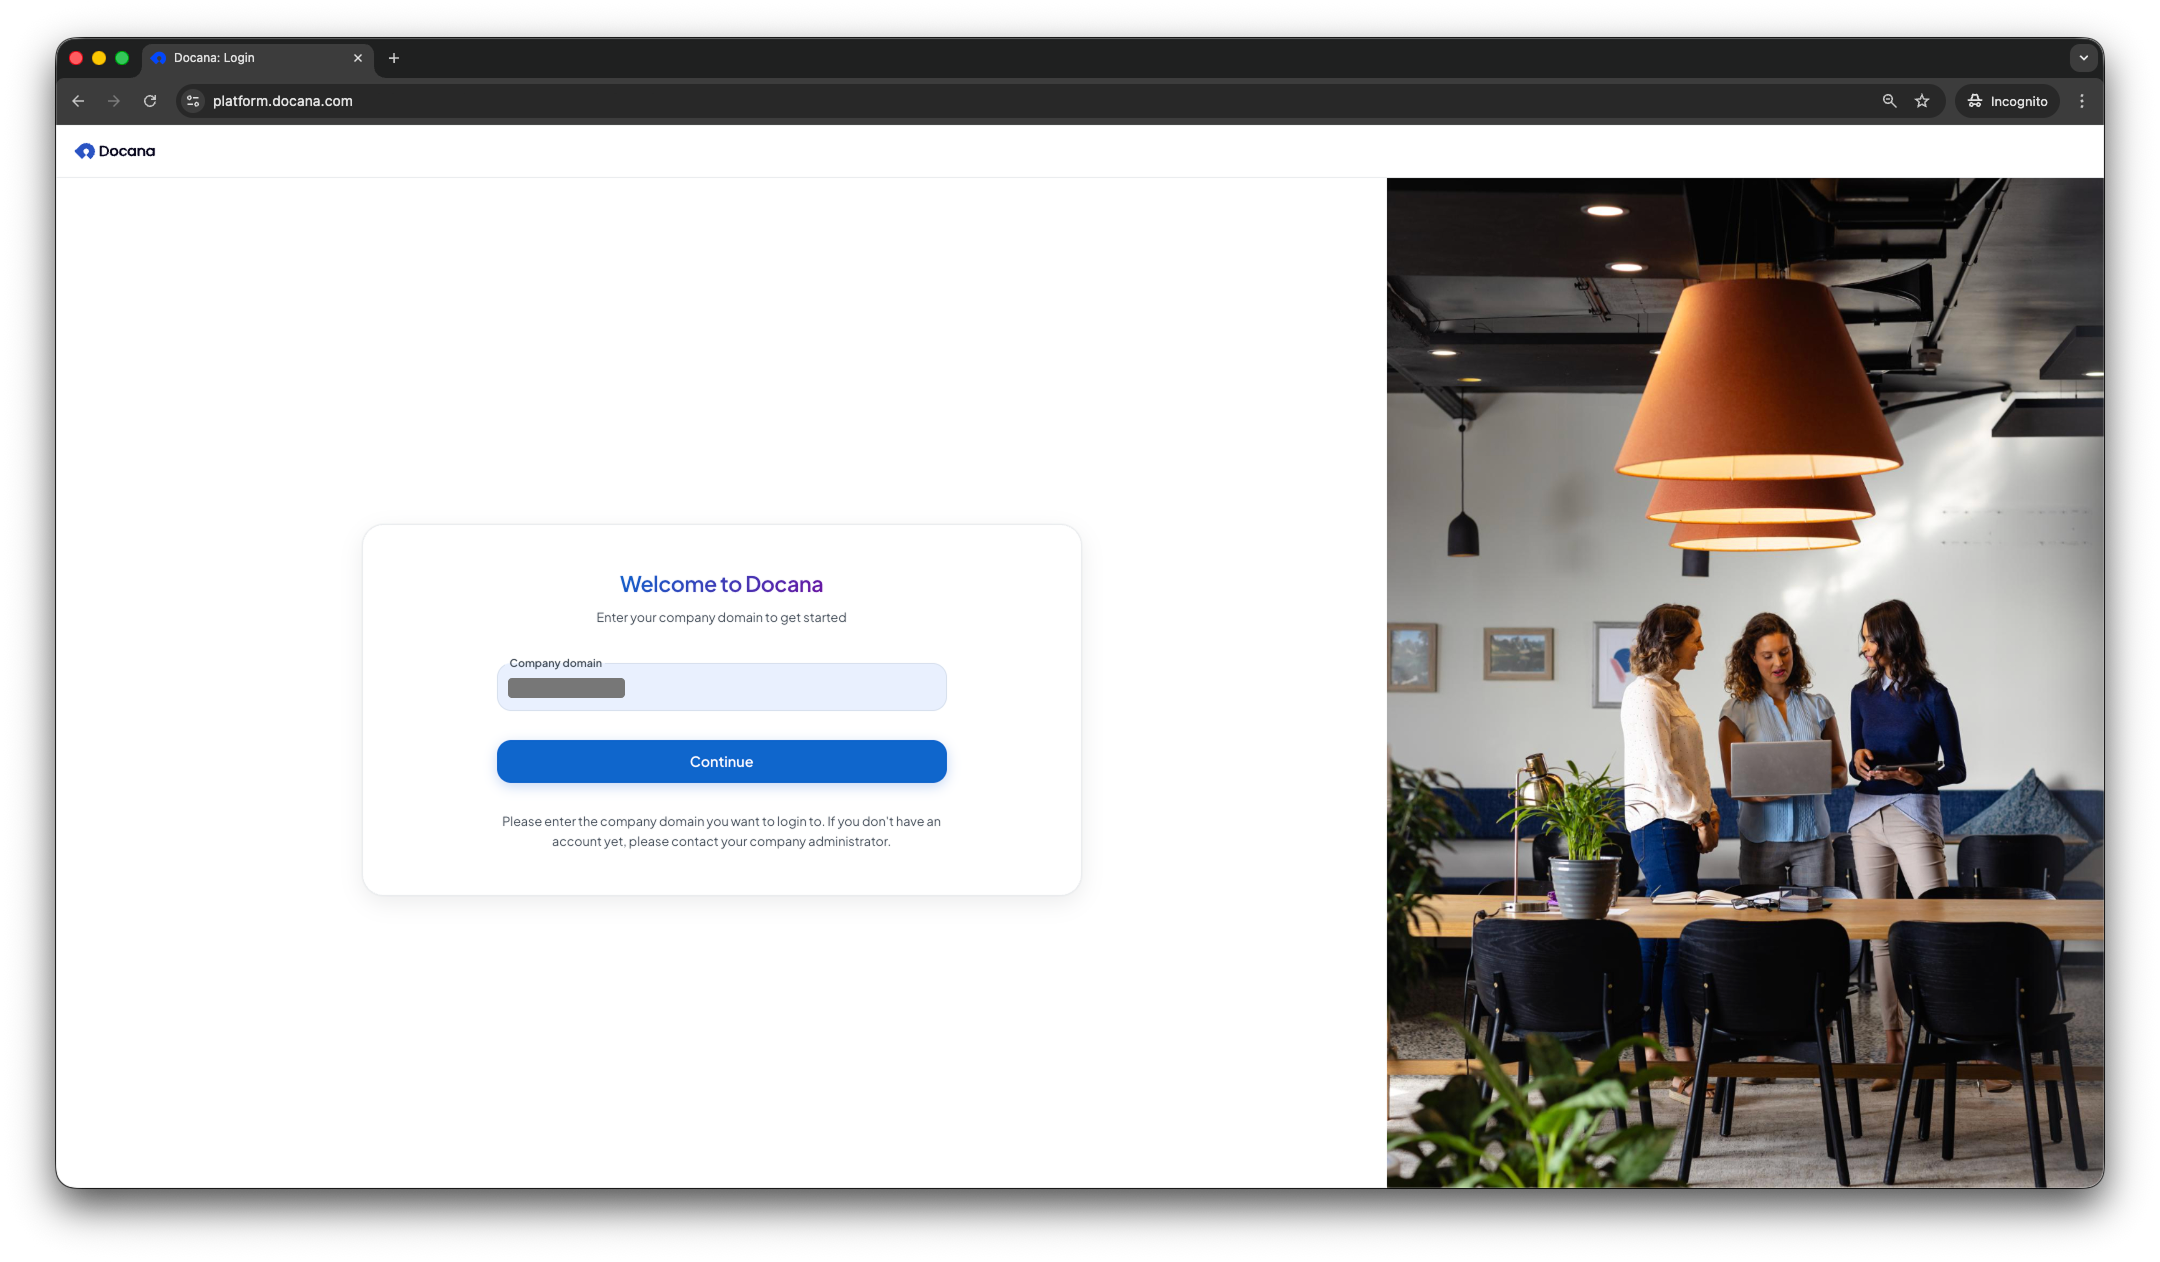
Step 1: Sign in
Go to platform.docana.com and enter your company domain.
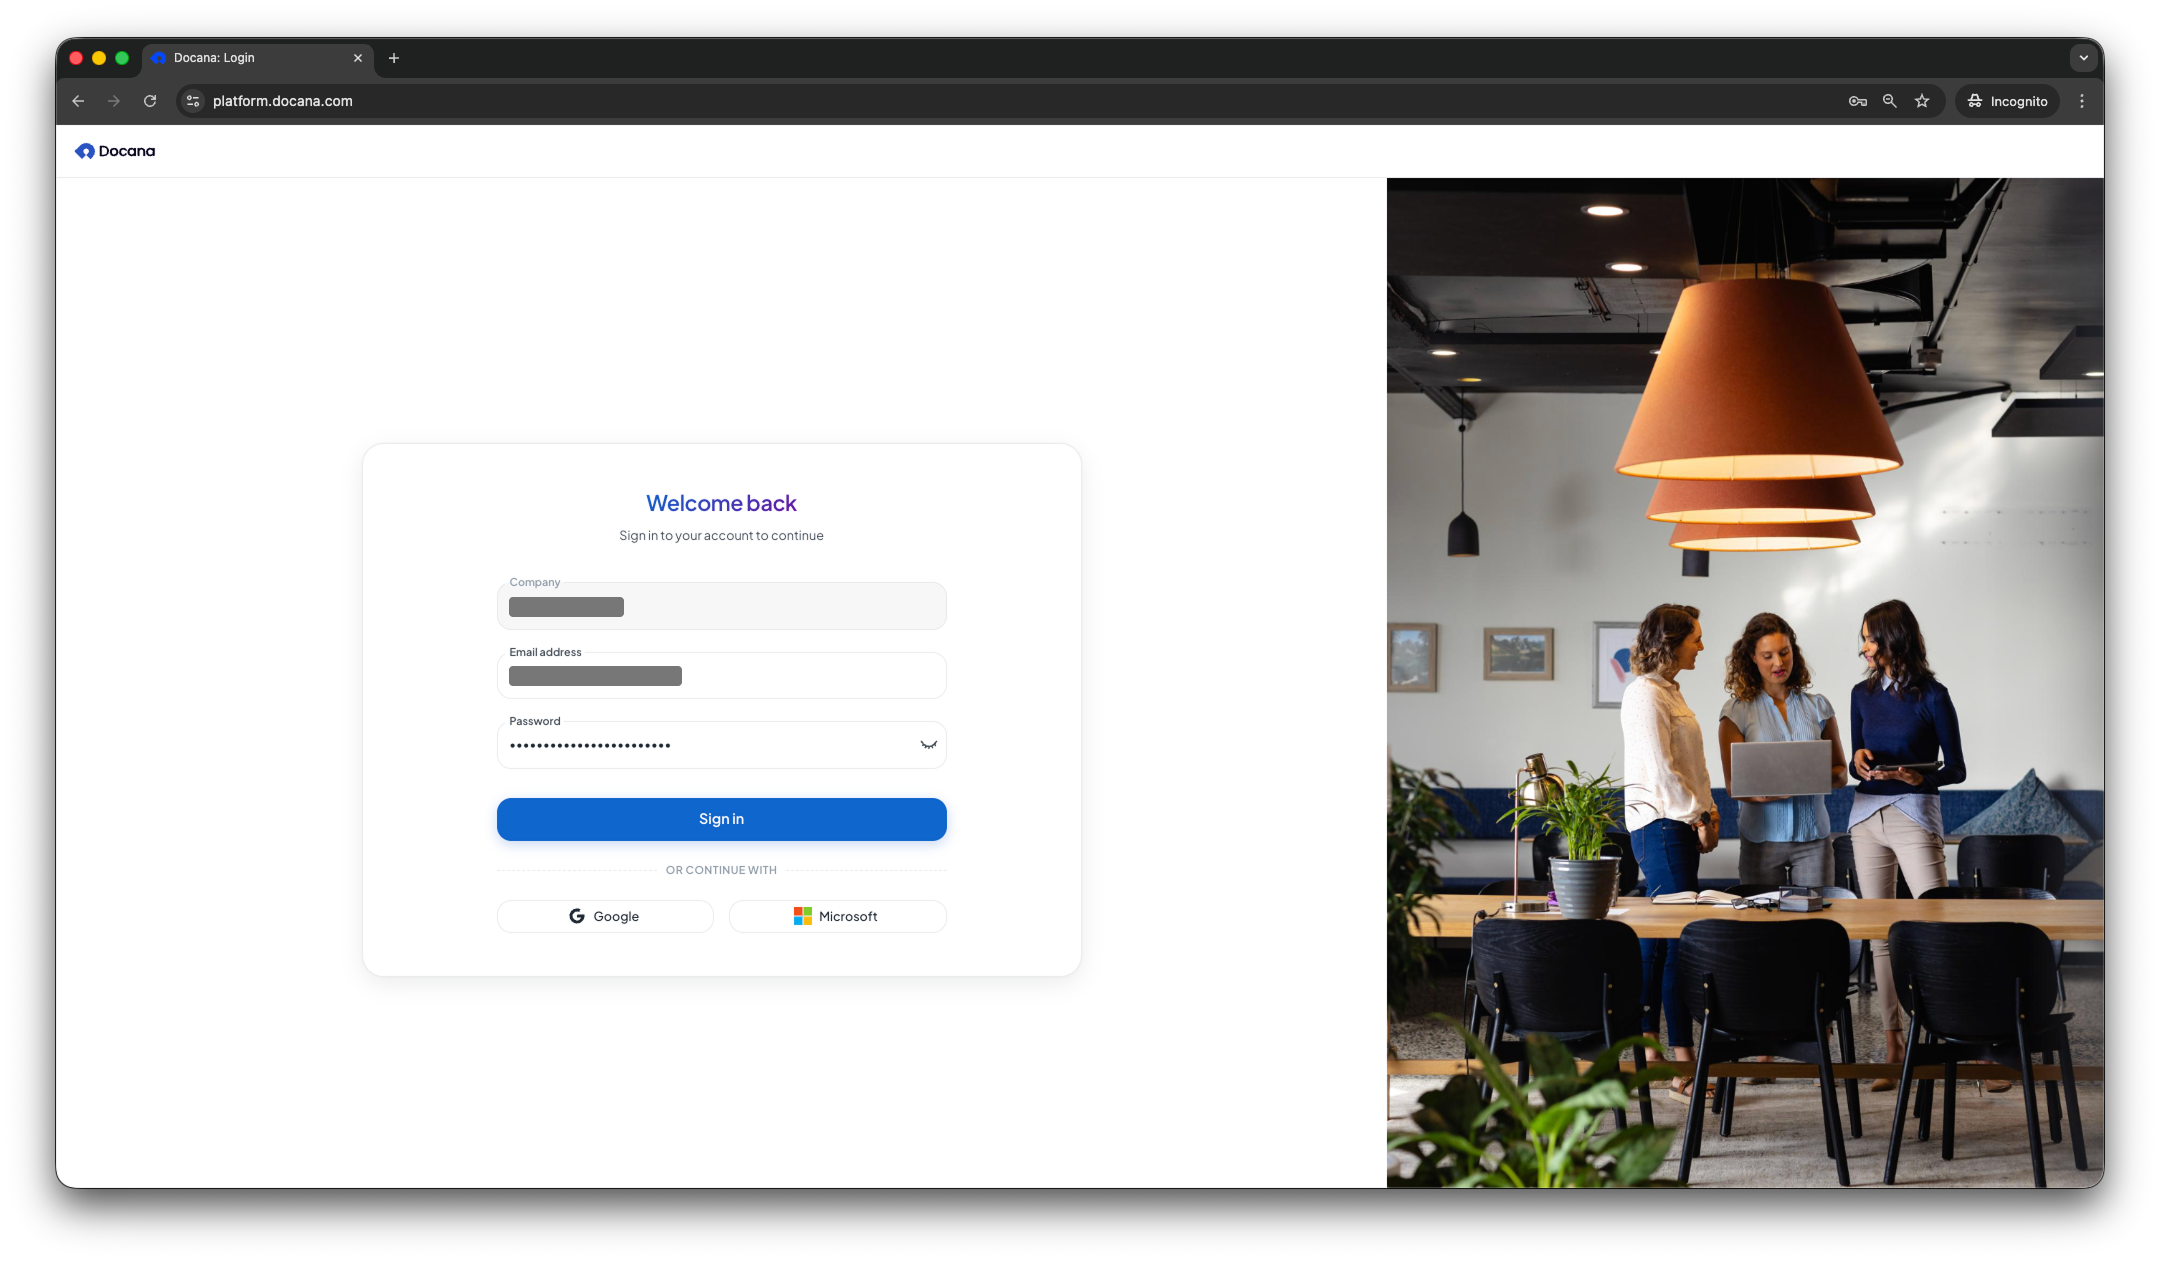
Step 2: Sign in
Enter your email and password, or sign in with Google or Microsoft.
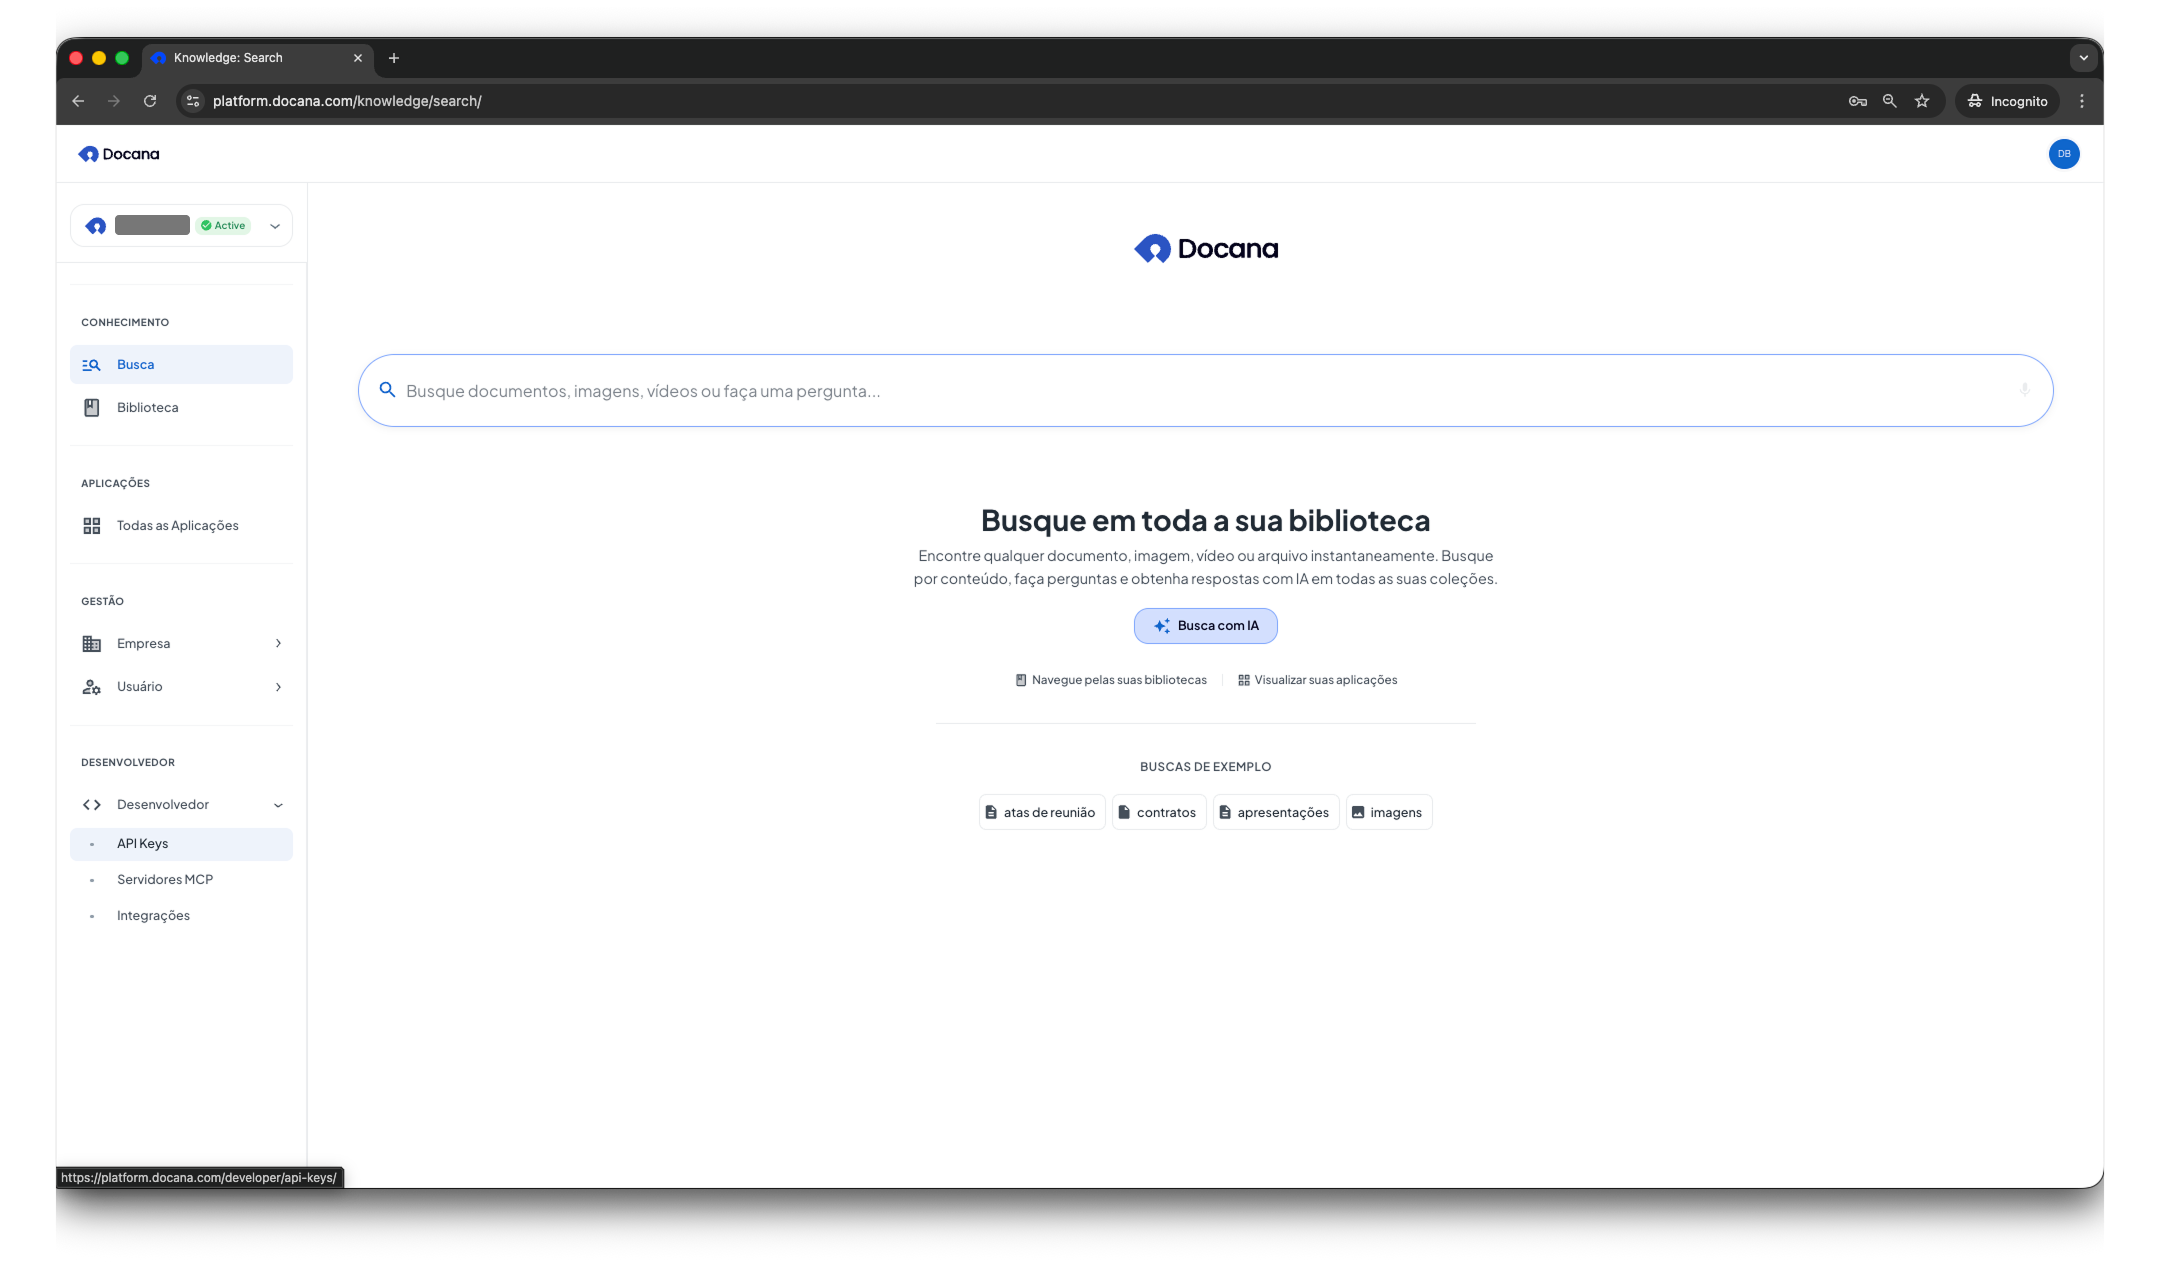
Step 3: Go to API Keys
Click Developer in the sidebar. Then click API Keys. Or go directly to API Keys.
Step 4: View Your API Keys
You'll see all your API keys, their status, when they were created, last used, and when they expire.
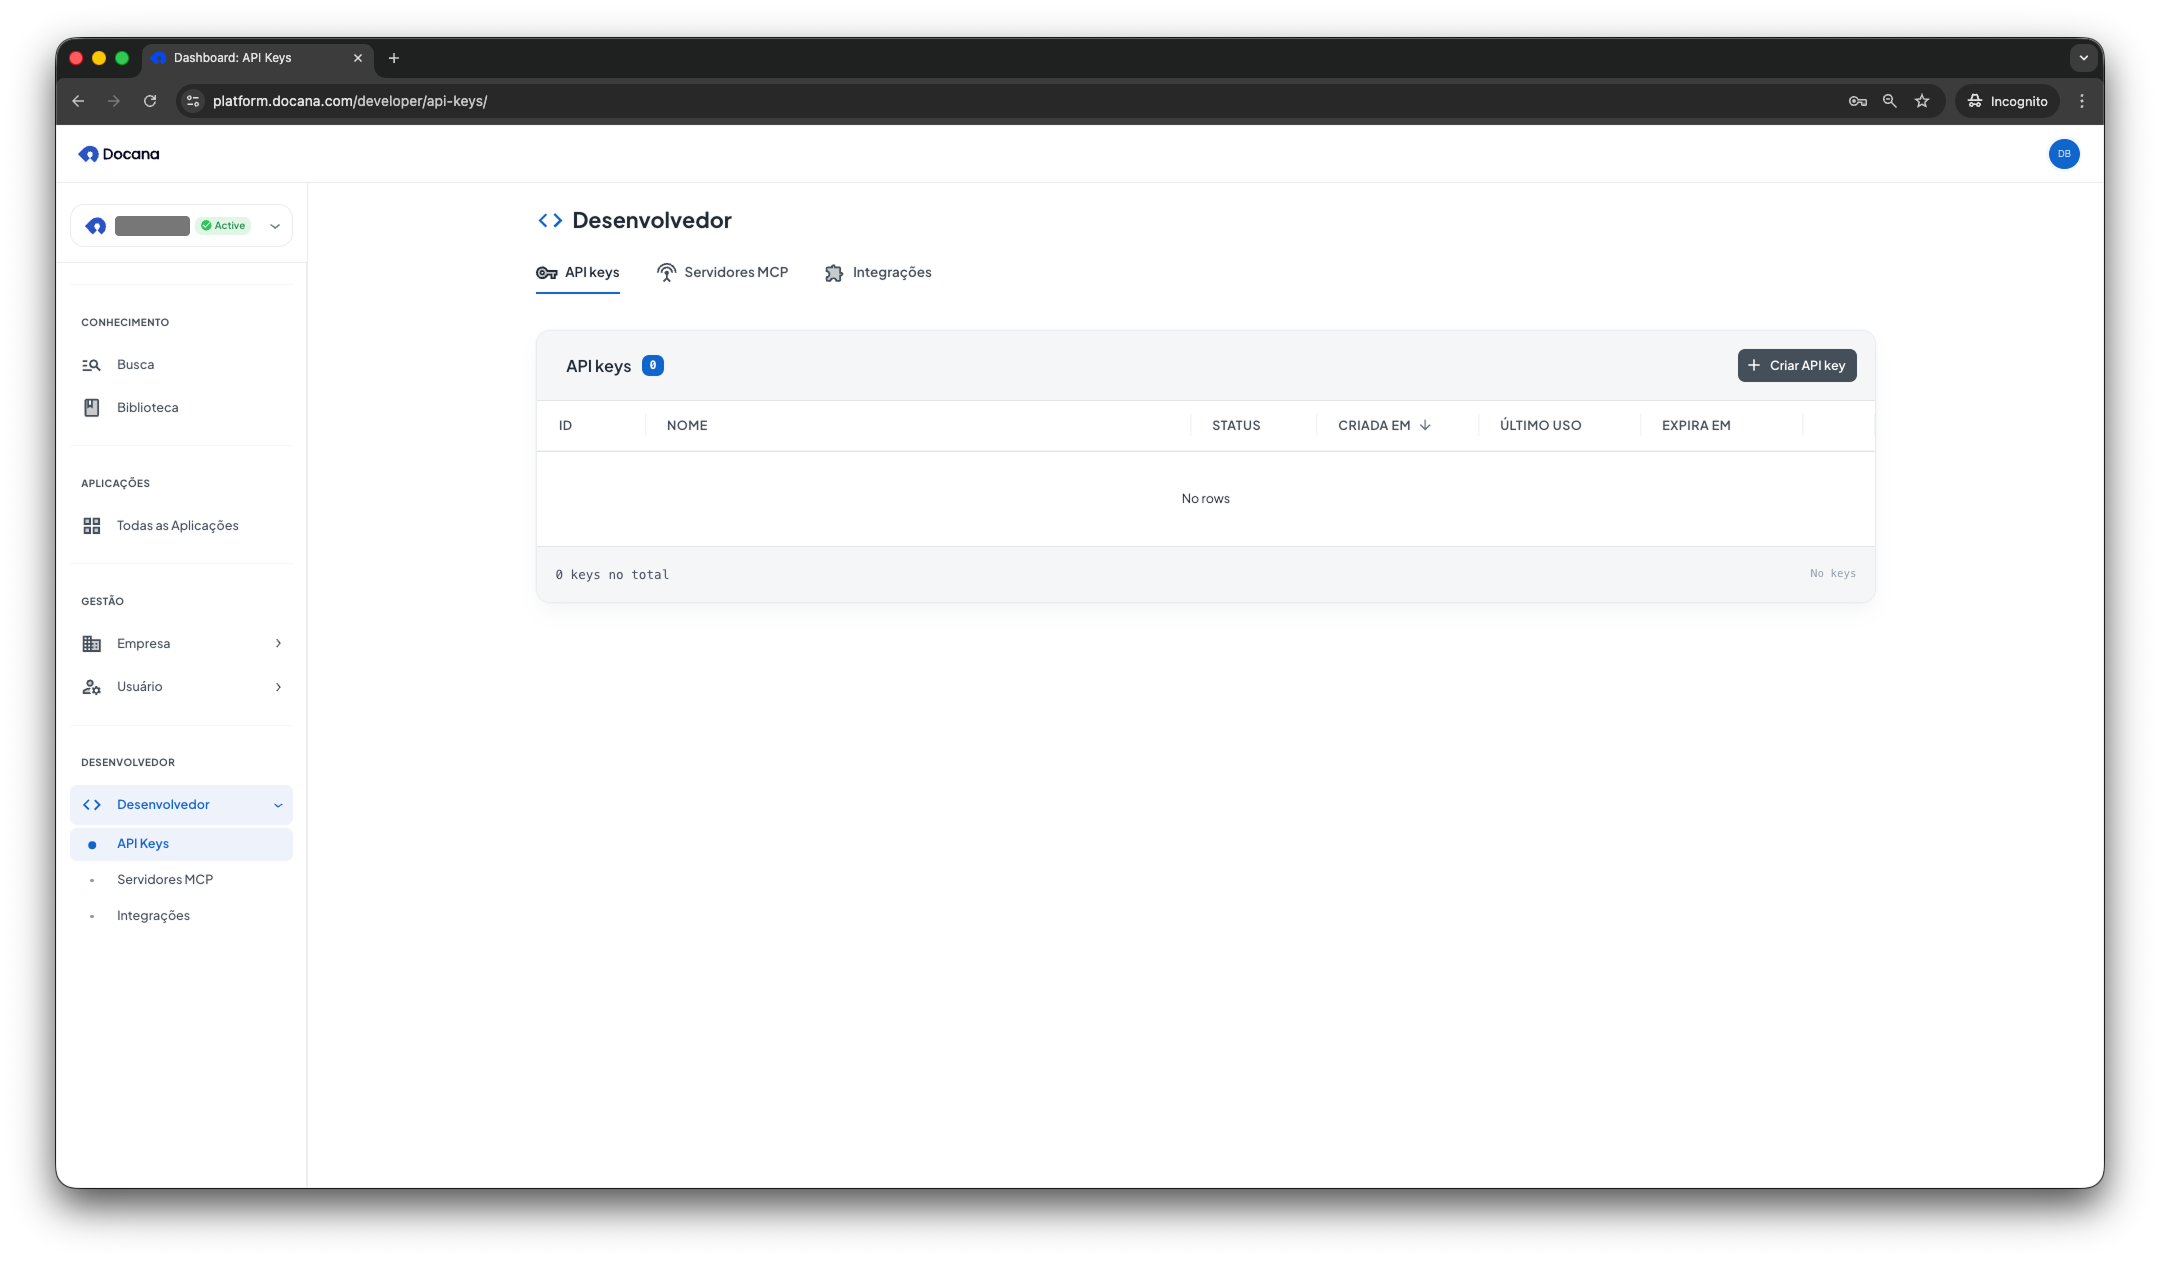
Click + Create API Key (top right corner) to create a new one.
Step 5: Create Your API Key
Enter these details:
-
Name: Pick a name that describes what the key is for (e.g., "Production Backend", "Development Testing", "CI/CD Pipeline").
-
Scope: Choose what the key can do:
- Full access: all API endpoints
- Widget only: just the widget chat, history, and archive endpoints. Use this for the Web Widget.
- Routine only: just triggering routines
-
Expiration: Choose when the key expires:
- 1 hour
- 1 day
- 1 week
- 1 month
- 1 year
- Never
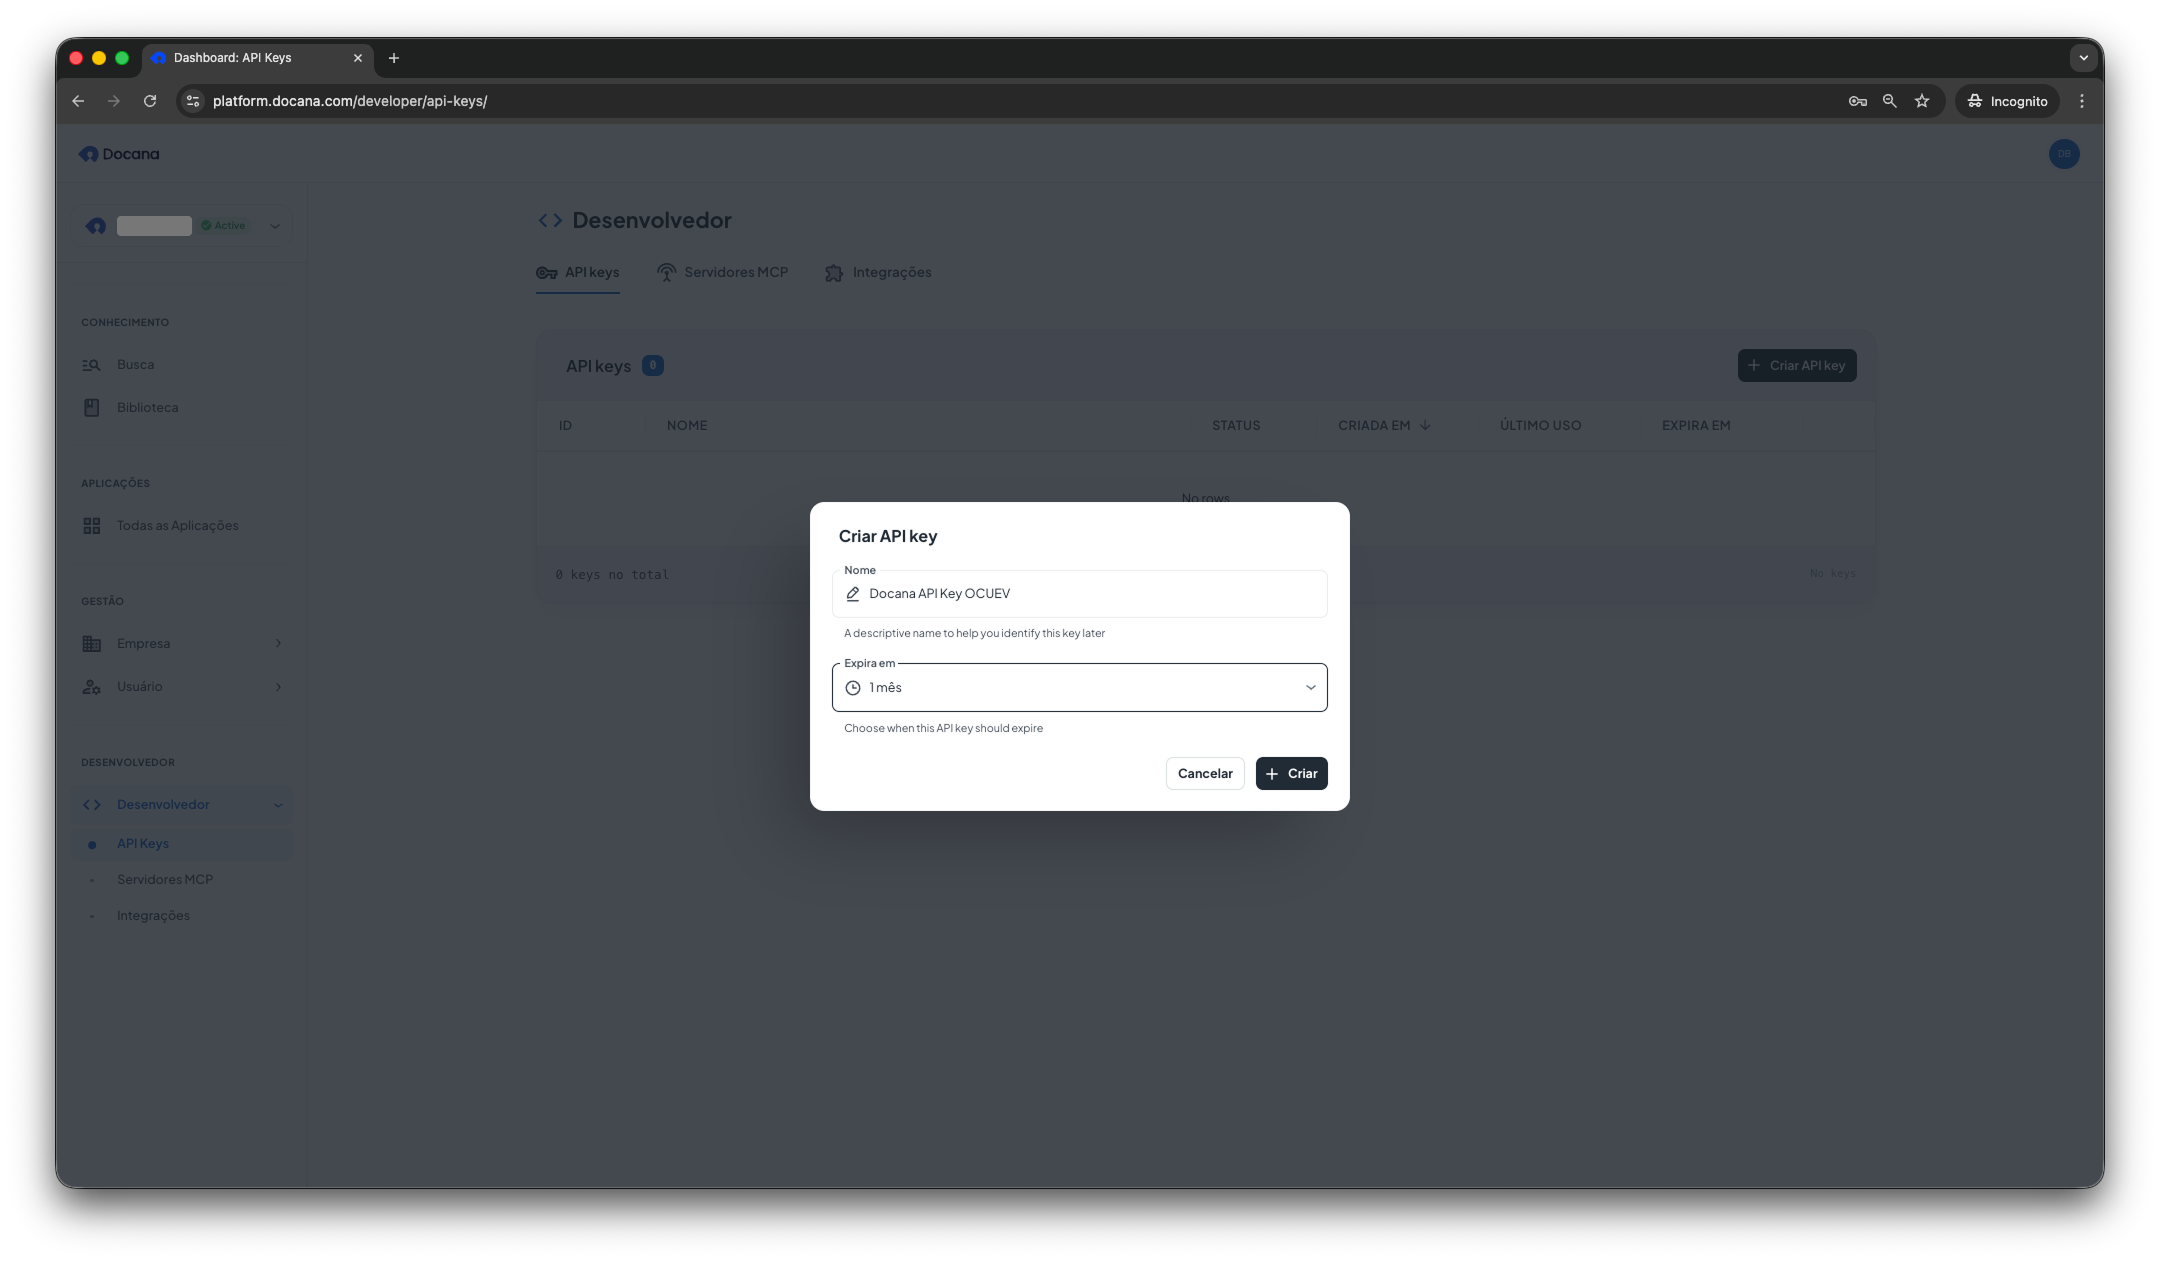
Click + Create to generate your API key.
Step 6: Copy Your API Key
You can only see the full API key once. Copy it now and store it securely. You won't be able to see it again after closing this dialog.
Your API key appears in the dialog. Click Copy Key or copy it manually.
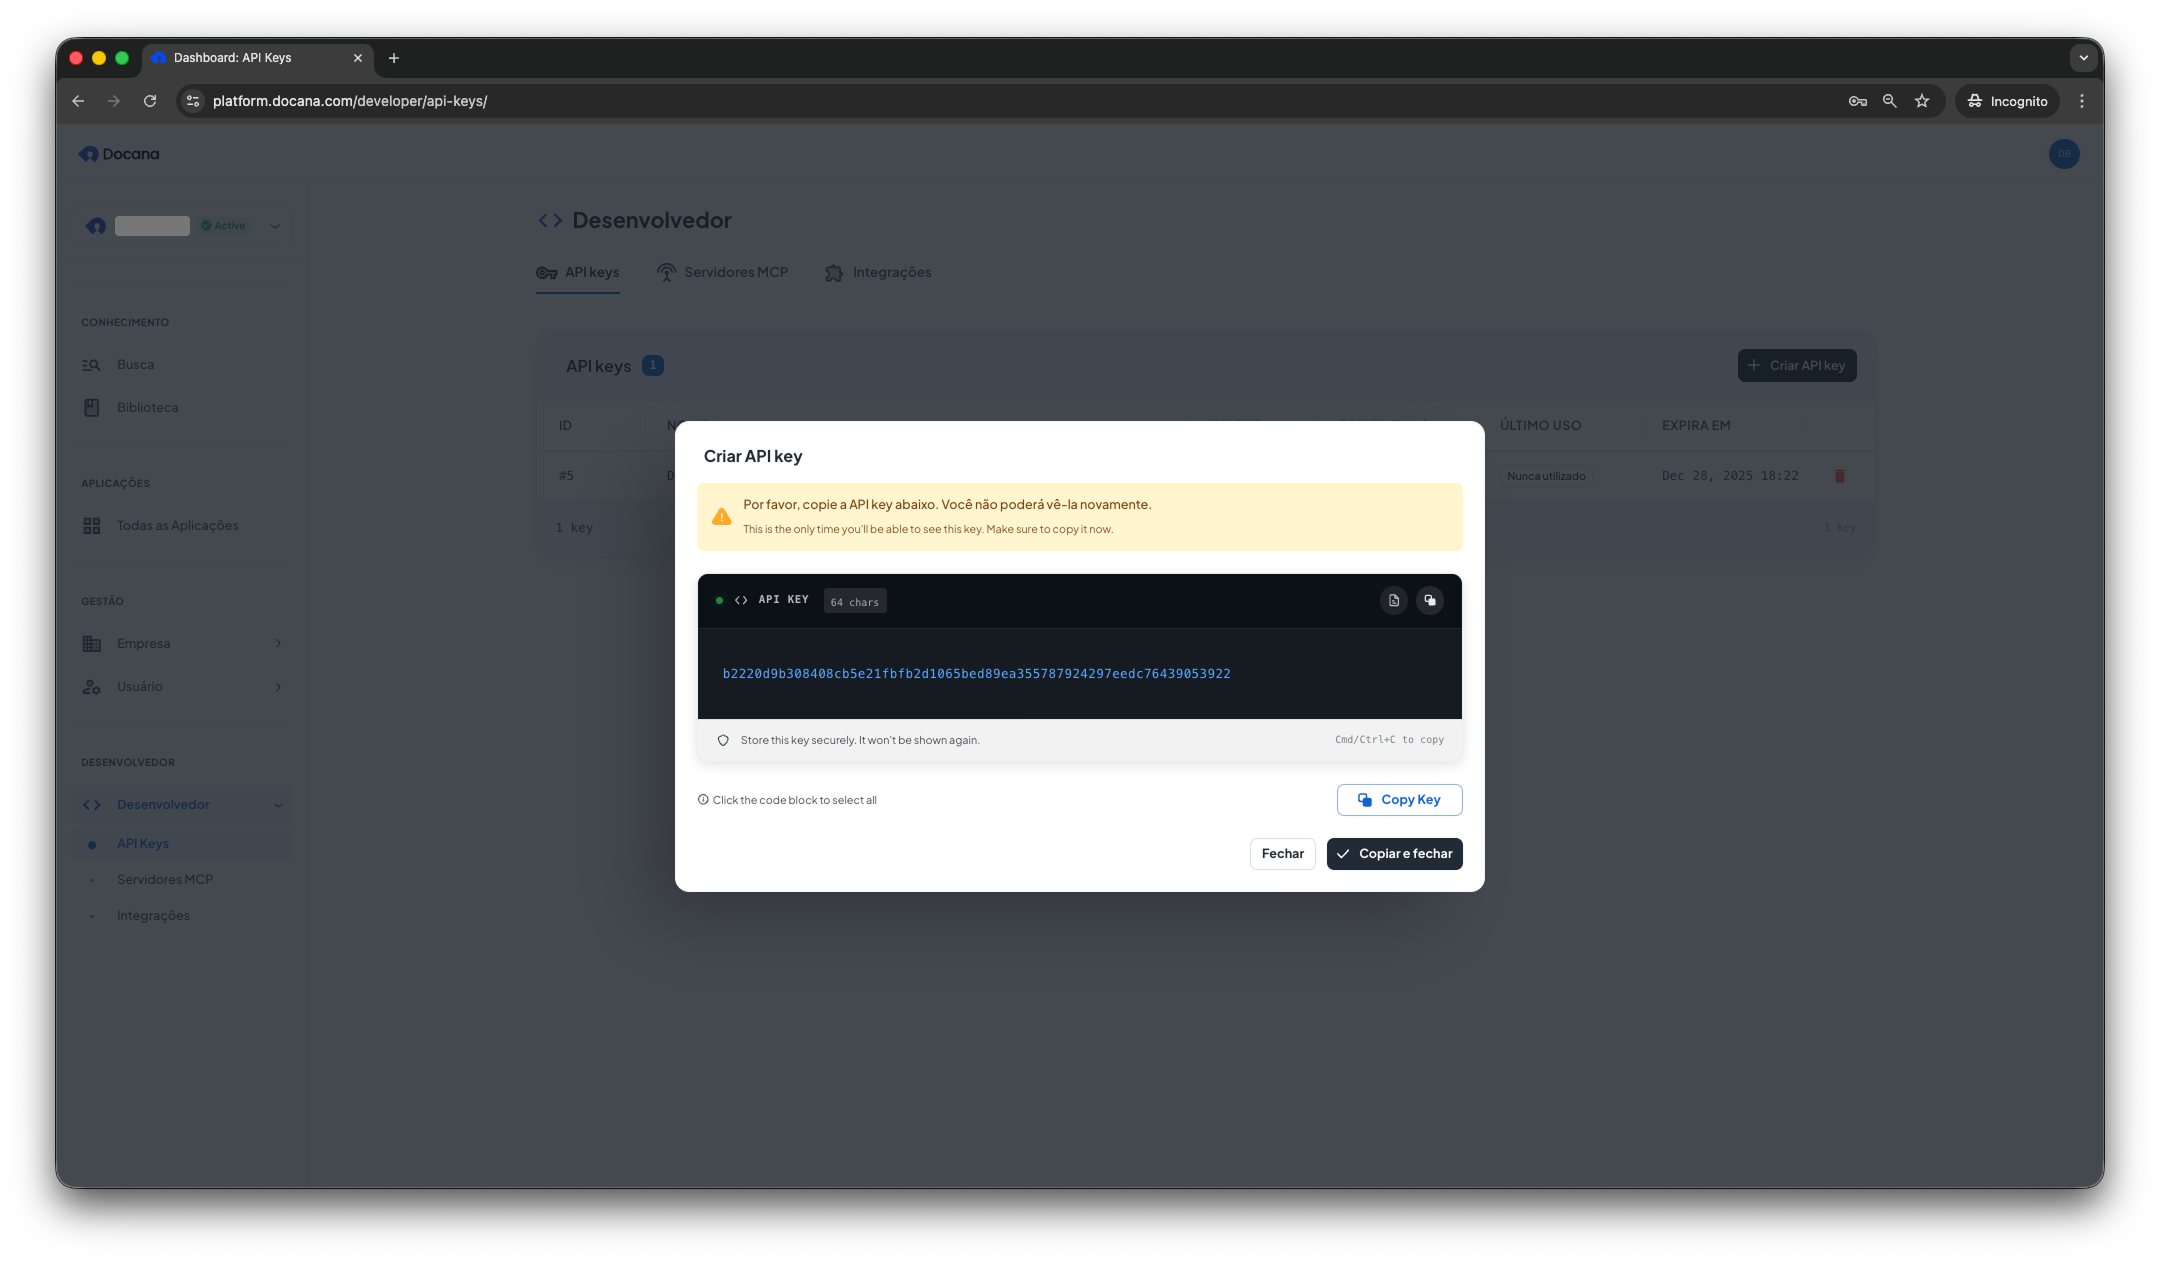
Store the key in your environment variables or secrets manager. Never commit API keys to version control.
Using Your API Key
Use your API key to authenticate API requests. For example, archive a conversation thread using the archive endpoint.
Send API keys in the Authorization header using the ApiKey scheme, not as a Bearer token:
Authorization: ApiKey YOUR_API_KEY
cURL example
THREAD_ID="your-thread-id"
DOCANA_API_KEY="your-api-key"

curl -X POST "https://platform.docana.com/api/threads/${THREAD_ID}/archive" \
  -H "Authorization: ApiKey ${DOCANA_API_KEY}"
TypeScript/JavaScript example
const threadId = 'your-thread-id';

const response = await fetch(
  `https://platform.docana.com/api/threads/${threadId}/archive`,
  {
    method: 'POST',
    headers: {
      Authorization: `ApiKey ${process.env.DOCANA_API_KEY}`,
    },
  }
);

if (!response.ok) {
  throw new Error('Failed to archive thread');
}

const result = await response.json();
console.log('Archived thread:', result.thread);
Managing API Keys
Viewing Key Details
From the API Keys list, you can see:
- ID: Unique identifier for the key
- Name: The descriptive name you provided
- Status: Whether the key is active or revoked
- Created At: When the key was created
- Last Used: The last time the key was used (useful for identifying unused keys)
- Expires At: When the key will expire
Revoking a Key
If a key is compromised or you don't need it anymore:
- Go to the API Keys page
- Find the key you want to revoke
- Click the delete icon
- Confirm the action
This happens immediately and you can't undo it. Any applications using that key will stop working right away.
Best Practices
-
Use clear names: Name keys based on what they're for (e.g., "Production App", "Staging Environment", "CI/CD").
-
Set expiration: Balance security with how you work. Shorter expiration times are more secure.
-
Rotate keys regularly: Even if keys haven't expired, rotate them periodically for security.
-
Use environment variables: Never put API keys in your code. Use environment variables or a secrets manager.
-
Use the narrowest scope: pick Widget only for website widgets and Routine only for scheduled triggers. A leaked narrow key is a much smaller problem than a leaked full-access key.
-
Check usage: Look at the "Last Used" column regularly to find keys you don't need anymore.
Next Steps
- API Overview - Authentication and the main endpoints
- CLI - Use your key from the terminal
- MCP Servers - Set up Model Context Protocol integrations
- Integrations - Set up external service integrations