Creating a Library
Your company has documents everywhere: contracts, policies, reports, training materials. Finding what you need is hard. Libraries help you organize collections of documents and knowledge so you can use them in your applications.
Libraries group collections together. Think of a library as a folder that holds related collections. You can make libraries private (only you and people you invite) or public (everyone in your company can see them).
You need to have a Docana account with appropriate permissions to create libraries. Contact your organization administrator if you don't have access to the Knowledge Libraries section.
Video Tutorial
Step 1: Create a New Library
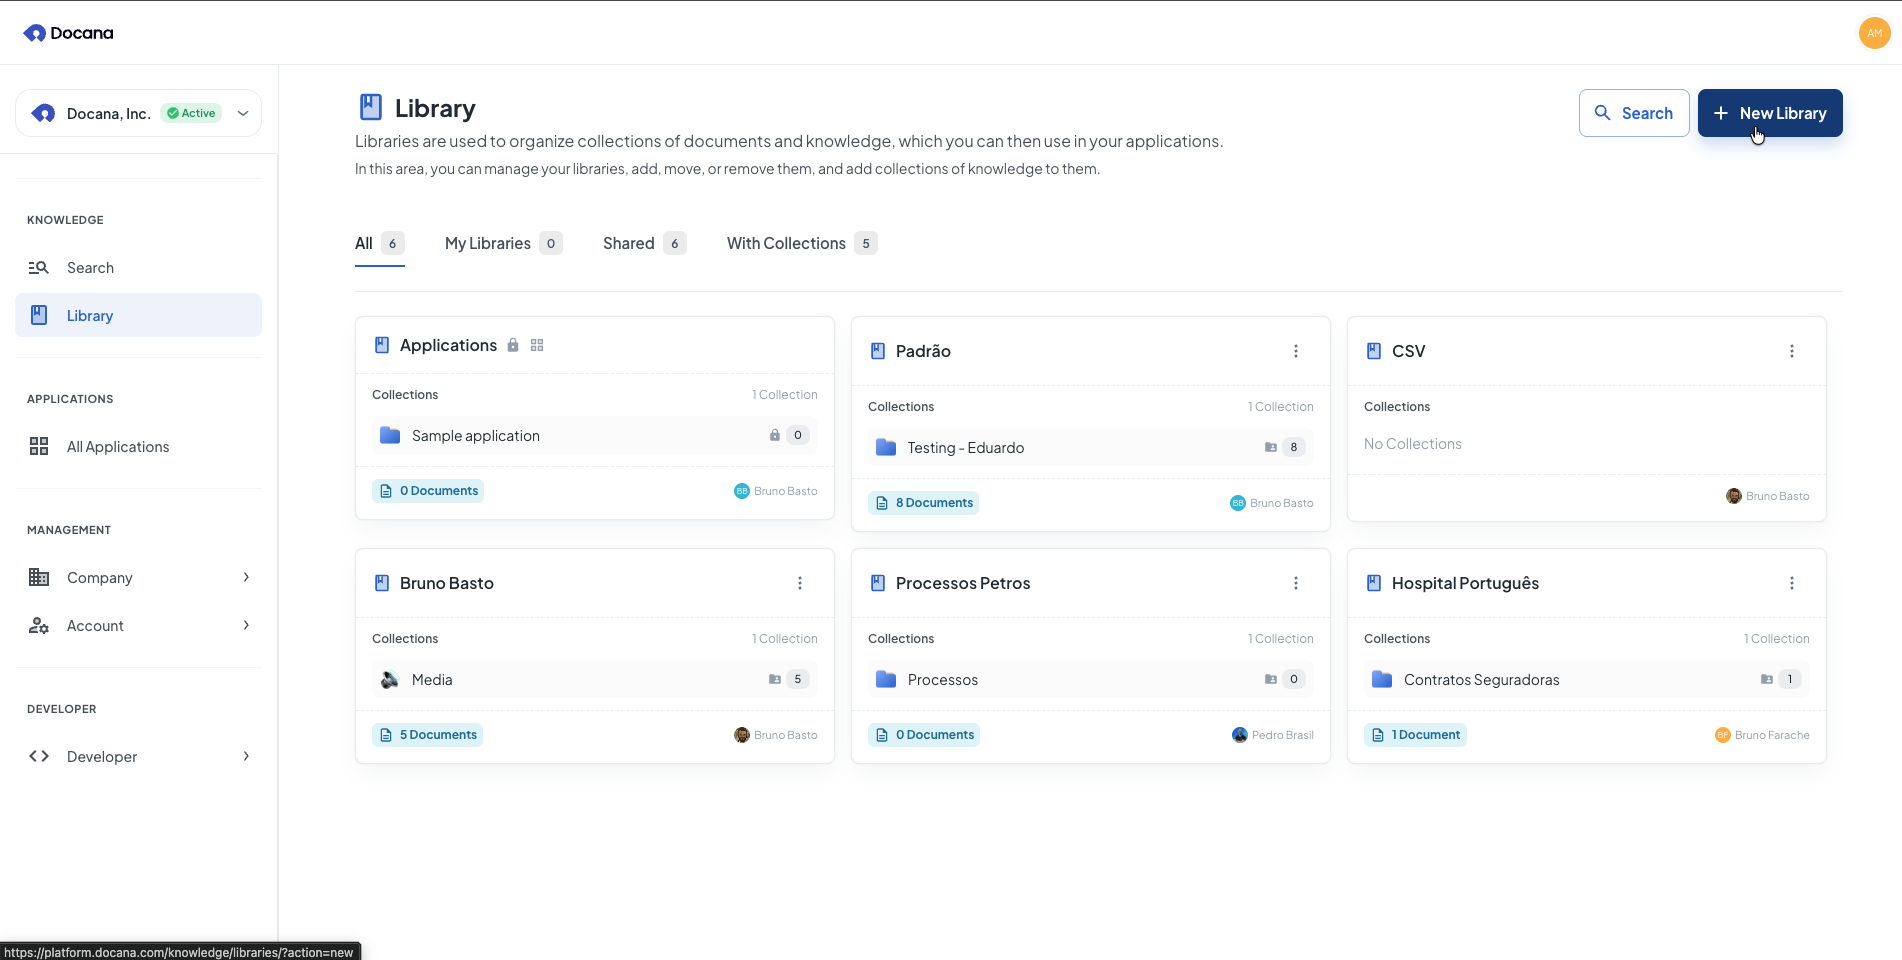
- Go to platform.docana.com and sign in
- Click Knowledge Libraries in the sidebar
- Click New Library (top right corner)
Step 2: Enter Details
Enter these details:
-
Library Name: Pick a name that describes what the library is for (e.g., "Legal Documents", "HR Policies", "Product Documentation", "Training Materials").
-
Private: Choose whether the library is private or public:
- Private (default): Only you and people you invite can see and use this library
- Public: Everyone in your company can see and use this library
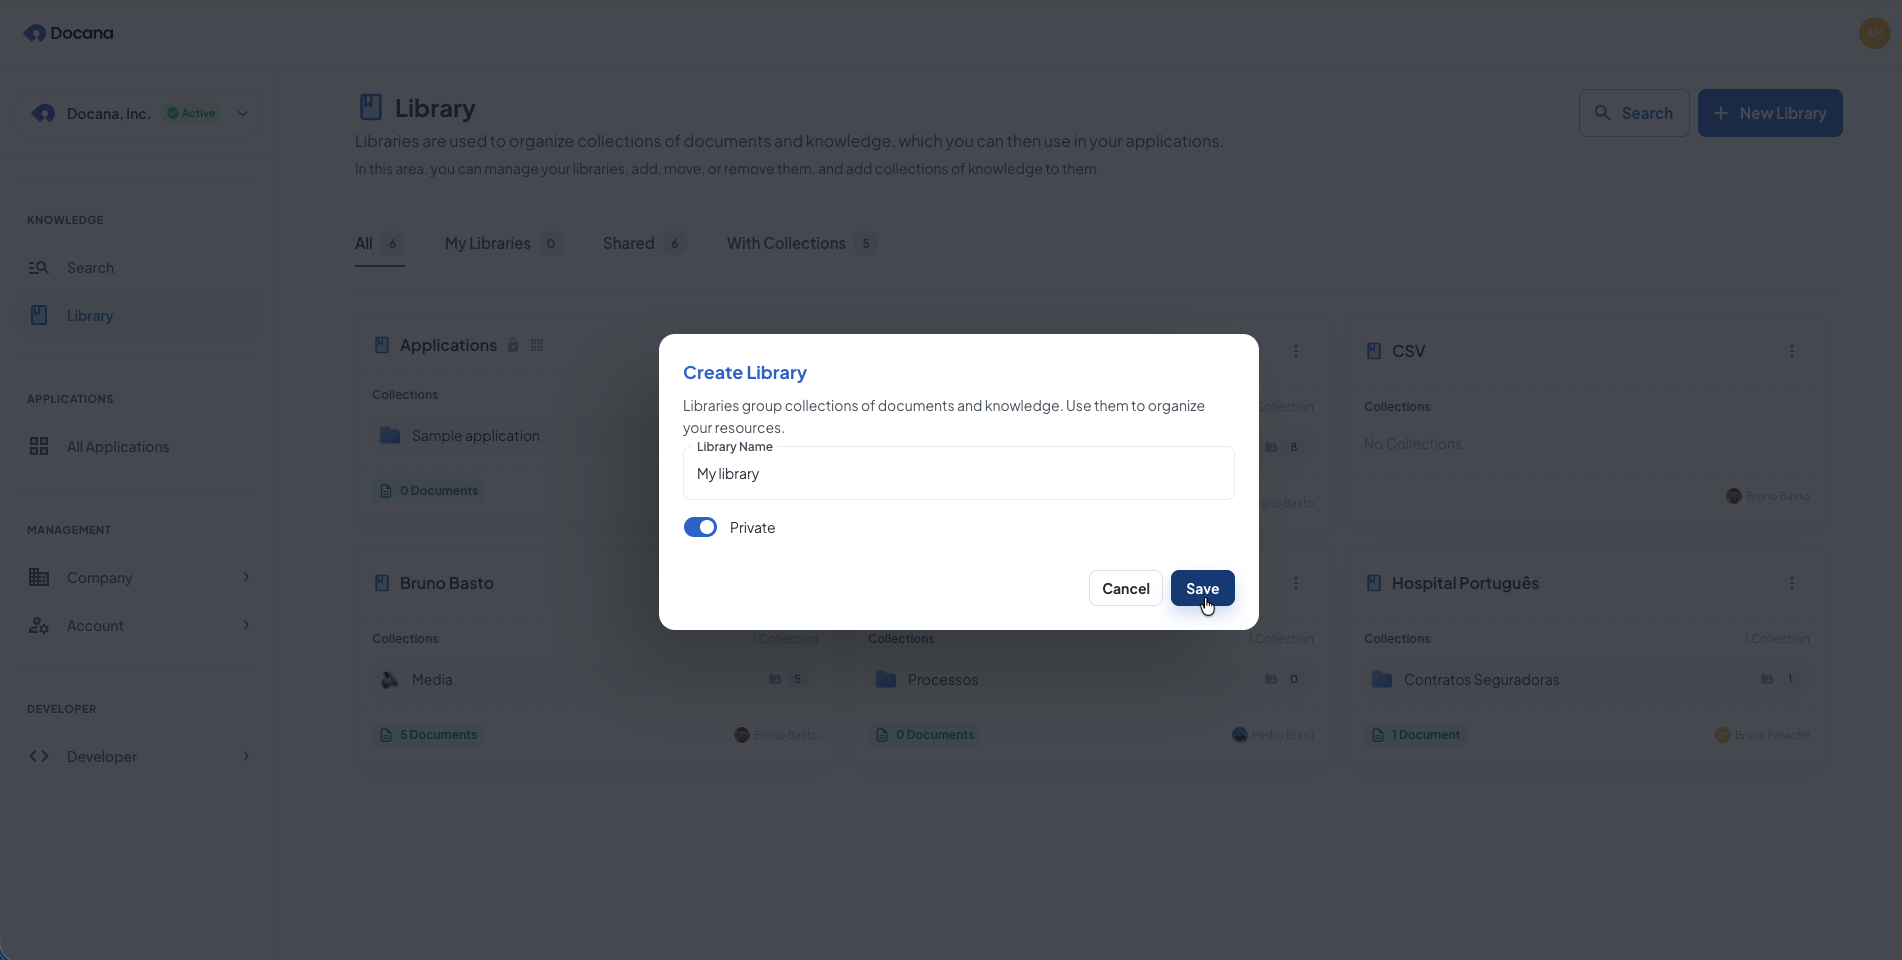
Click Save to finish.
Step 3: What's Next
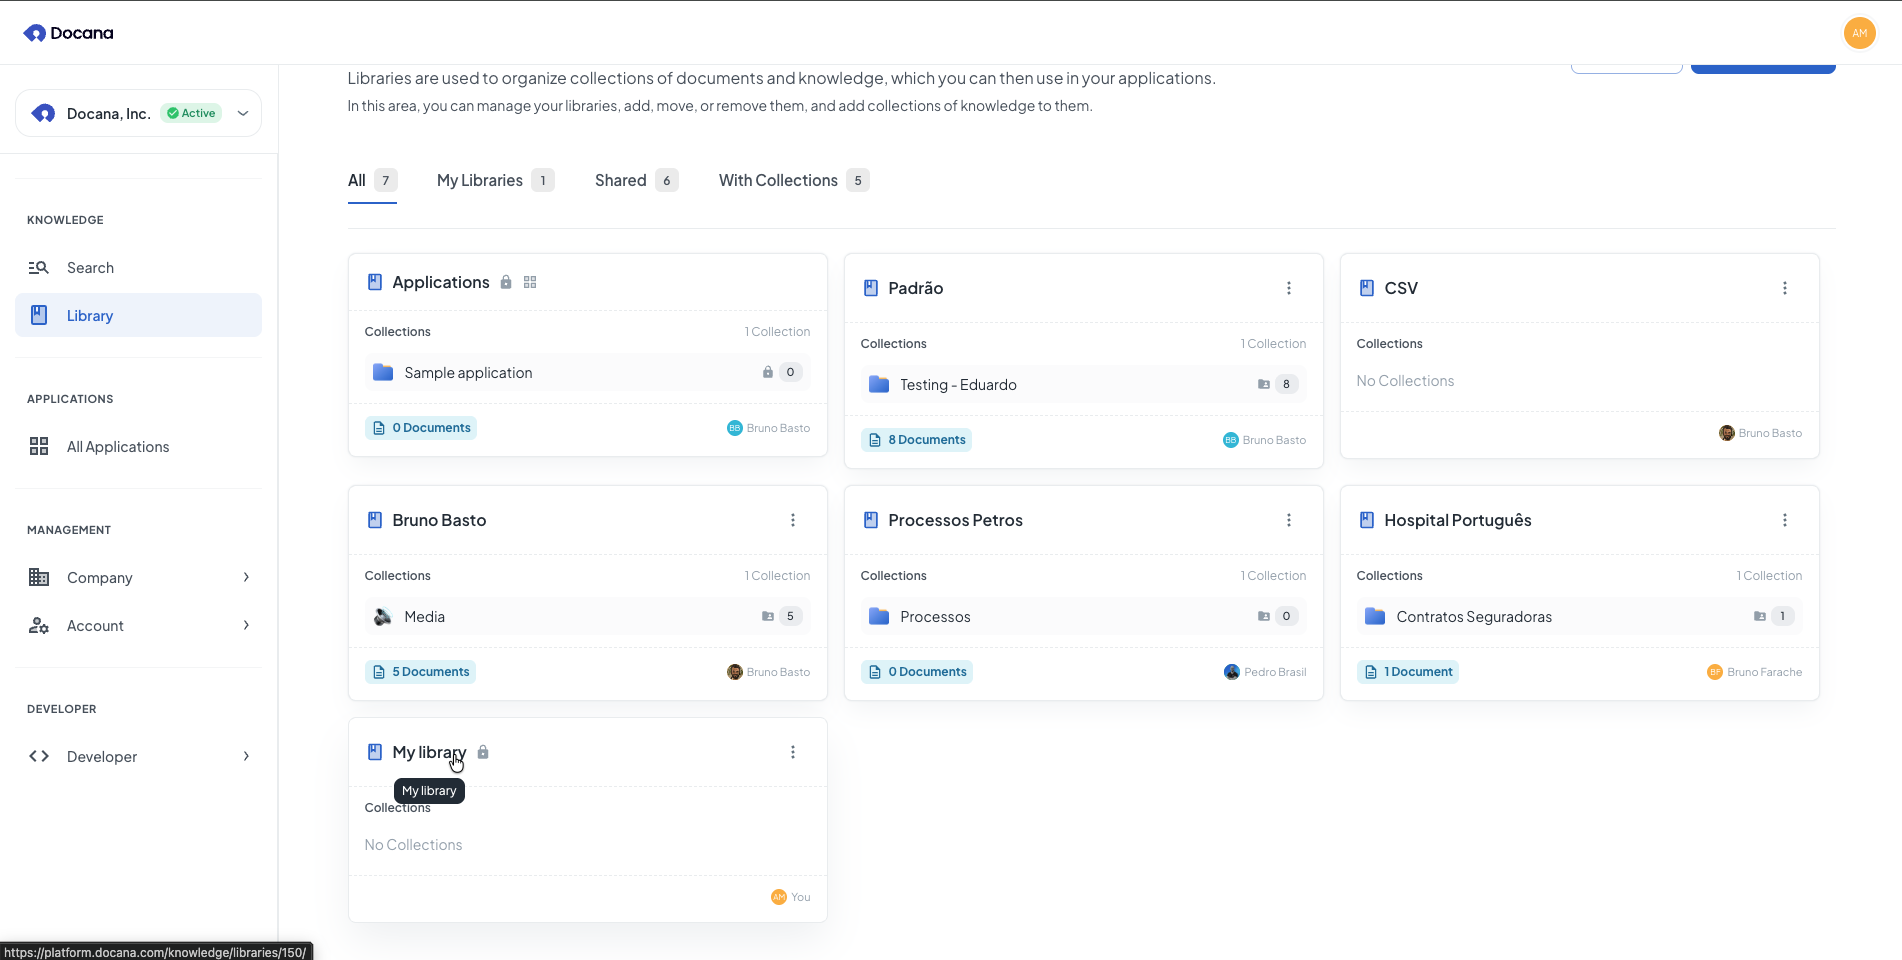
After creating your library, you'll see it in your libraries list:
In your library:
- Add collections to organize documents (see Creating a Collection)
- Upload documents directly to collections
- Connect external data sources (connectors)
- Manage who can access your library and collections
Company-wide:
- Search all documents at Enterprise Search
- Use libraries and collections in your applications and agents
Managing Libraries
From the Knowledge Libraries list, you can:
- Open: Click a library name to see its collections and documents
- Edit: Click the edit icon to change the library name or privacy settings
- Delete: Click the delete icon to remove permanently
Deleting a library removes all collections and documents inside it. You can't undo this.
Best Practices
-
Use clear names: Pick names that show what the library contains (e.g., "Legal Documents", "HR Policies", "Product Documentation").
-
Organize by theme: Create separate libraries for different topics or departments. This keeps things organized.
-
Set privacy carefully: Use private libraries for sensitive documents. Use public libraries for documents everyone needs.
-
Start with collections: After creating a library, add collections to organize your documents. See Creating a Collection.
-
Clean up: Review your libraries regularly. Remove ones you're not using.
Next Steps
- Creating a Collection - Add collections to your library to organize documents
- Enterprise Search - Search across all your documents
- Creating an Application - Use libraries in your applications